
I bought some nice 21700 cells and an IP5328P power bank board with the intent to build a large (24Ah) power bank. I've done lots of power bank projects in the past where I added voltage and current instrumentation and displays to be able to monitor what was happening while using the power bank, and for this new one I wanted to use a nice RGB graphical display (whereas older projects used black and white OLED displays).
When I received the boards I started doing some reverse engineering with the goal of taking my standard approach of adding in current sense resistors, voltage dividers, and INA219 power monitors to get the data I needed. After taking a look at the IC's datasheet though, I realized that all the information I wanted was available over an I2C connection, so I'd hardly have to implement any hardware at all. The I2C bus is available by connecting to some lines that are otherwise used for the indicator LEDs:

The datasheet had no information on the available registers though, but luckily an EEVBlog forum user had come across the needed documentation and share it in this thread. With that and a whole bunch of Google Translate I got my microcontroller (PIC18F26K40) talking to it.
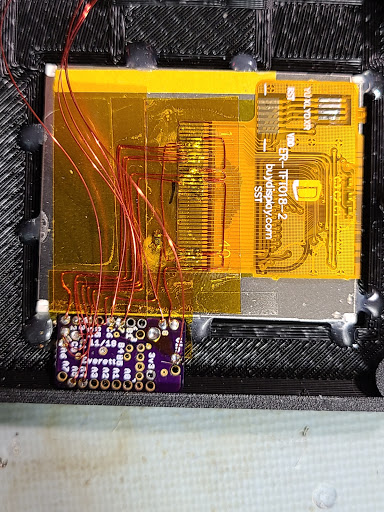

And after connecting I2C as well as the INT signal and power to the main board, I was able to pull data and display it on the screen. You can also see that I relocated the inductor to save on height.

I did a bit more work on the 3d-printed housing, including some manual adjustments with dremel and 3D pen, and got the display and power bank board installed. At this stage of assembly I spent a long time writing all the graphics code to show status and data. After getting that to a point I was happy with, I welded up the cells and installed them:

And closed it up:

Here's a demo showing the display in action: